Resizing LUKS
I decided to go all SSD in my T5610 as I could use the speed and wanted to get rid of the extra SATA cables, power splitters, 5.25" caddy, hard disk and an old SSD running on SATA2 etc; it also will pave the way for adding an NVMe when the prices fall a bit, and passing through an SSD to KVM for nested ESXi, although I found it doesn’t speed up a SUSE install at all over qcow2. So I now have a 1Tb SSD for VM’s and a 2Tb SSD for boot and data, both Crucial MX500.
To make the move easier I wanted to clone the 120Gb boot SSD to the new 2Tb SSD and grow the partition to fill the space. That was further complicated by the use of extended partitions (can’t remember why I did that, it was years ago) and LUKS, and also I found out the new SSD’s have 4k sectors not 512 bytes. So the process consisted of:
Boot a LiveUSB (I chose Fedora 32 which seems to have a totally broken Gnome3, luckily I only wanted the CLI);
Clone the 120gb SSD (sdc for some reason) to the new 2Tb SSD (sda), do not get these confused, check with fdisk -l first! Took under 15mins:
dd if=/dev/sdc of=/dev/sda bs=4M
Align the 4kb sectors and expand the partition, which basically consisted of deleting both extended and Linux partitions and recreating them, accepting the defaults for size and not clearing the LUKS label:
fdisk /dev/sda
d
5
d
2
n
2
n
5
w
Expand the LUKS container to fill the partition:
cryptsetup luksOpen /dev/sda sda5_crypt
cryptsetup resize sda5_crypt
Expand the rootfs to fill the partition:
e2fsck -f /dev/mapper/sda5_crypt
resize2fs /dev/mapper/sda5_crypt
Then shutdown and remove the original SSD, power on again and reconfigure the boot order in the BIOS. This whole process took under half and hour.
As I was removing the HDD also, I had to remove its entries from /etc/fstab, /etc/crypttab and a few other places like NFS, cronjobs, rsnapshot….. Then I basically used cp -a to copy everything from the HDD to the new SSD including the hardlinks that rsnapshot uses, permissions etc. Took an evening to copy about 1Tb of data, so its nice to have moved to 570mbps SATA3 SSD’s now!
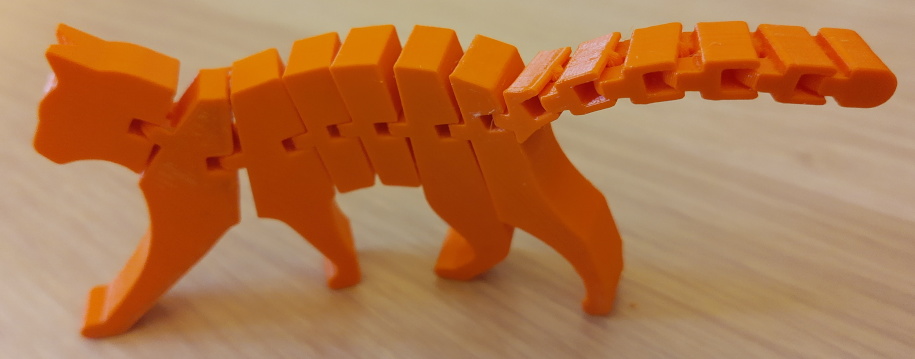
I also recently got hold of some orange AmazonBasics PETG which printed quite easily actually using the DrLex PrusaSlicer settings such as 256c extruder, 80c bed, fans on, slower speed etc. The key point appears to be layer height - you can’t use anything larger than 2.0mm and 1.0/1.5mm was much better with minimal stringing, having the door closed I think helped some: