More Boards
I’ve made some more PCB’s since the decade counter; first was a modification of that board to use a 7-segment display and a CD4026 driver IC. I had to make a custom footprint for the RL-S5610 display, but it wasn’t too difficult and came out perfectly. I also removed the variable resistor and added a couple of pin headers so it could be powered from a LiPo battery with JST connector not just the DC jack. Here’s a video of it in action:
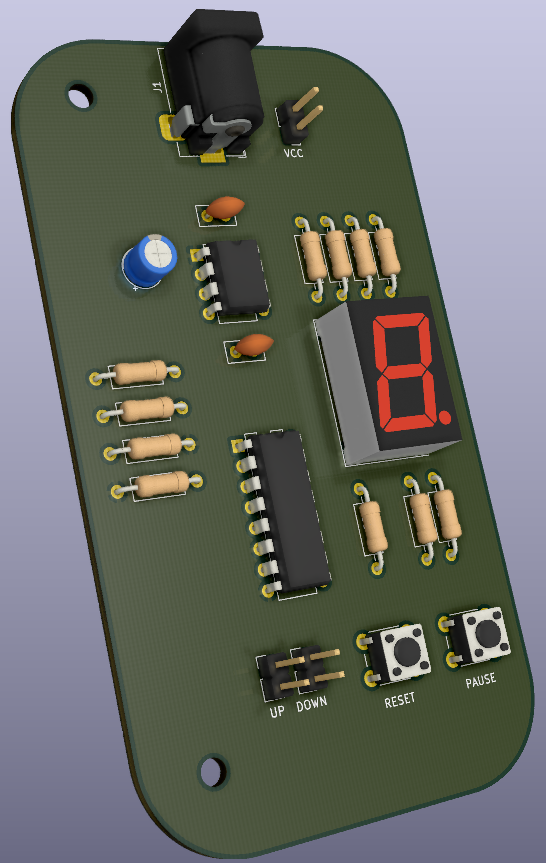
I’m currently awaiting delivery of another modification of the board that uses a CD40110BE with the ability to count up or down (selected with a jumper) and a pause button to go with the reset button. Also notice I found a few 3D models to go with my custom footprints:
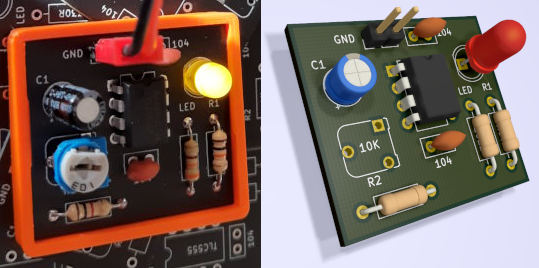
I also received the 555 astable circuits I made as a subset of the decade counter boards - which I used as a clock source whilst prototyping the 7-seg board. I’ve made a few of these with different capacitors and LED’s, with 3D printed bumpers:
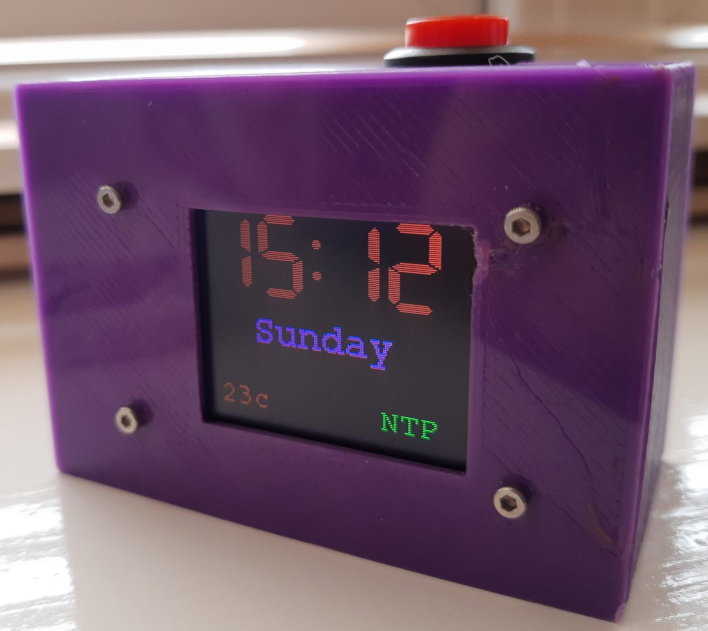
I also re-used my old ESP32 IR remote PCB to make a clock. It uses a DS3231 RTC with a LIR2032 for keeping track of the time, which is synchronised over wifi using NTP. The TTGO Mini is connected to a 1Ah LiPo battery and can charge over USB. Press the button and it instantly displays the RTC clock, then goes off and gets NTP time, then goes into deep sleep after 5secs until you press the reset button again.
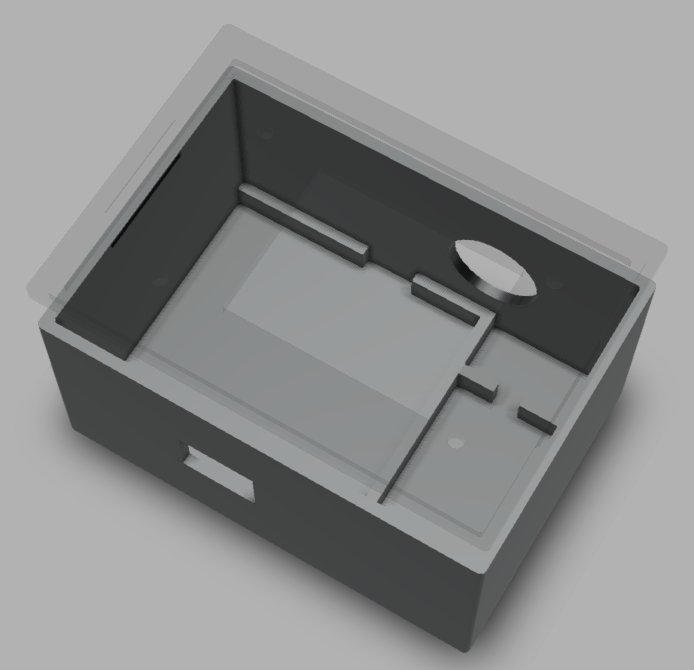
The two PCB’s are held in place not using nuts, bolts and threaded inserts this time, but using a tight-fitting wall design with notches cut out for routing wires, it works really well. Here’s the Fusion 360 render: